本地部署 Jekyll GitHub Pages 写作环境
本篇将介绍如何在本地部署 Jekyll GitHub Pages 写作环境。此处使用 Windows 环境举例。
要求
- ruby 2.0.0 或者更高版本
- Bundler
- Development-Kit
- Jekyll 以及依赖
推荐使用 Bundler 来安装和运行 Jekyll。 Bundler 可以管理 ruby 的 gem 依赖,减少 Jekyll 编译错误,阻止一些环境相关的 bug。 安装 Bundler 前需要安装 Ruby。
安装 ruby
-
打开 Git Bash
-
检查、安装 ruby 2.0.0或者更高版本
ruby --version
如果没有安装 ruby,则需要按照如下方式安装ruby:
我们使用 RubyInstaller 来安装 ruby。
建议下载2.2.x版本,当前稳定版,下载好 RubyIntaller 以后,点击安装。
安装好以后执行ruby --version检查是否已经安装成功。
安装 Bundler
-
安装Bundler
安装好 ruby 后,执行
gem install bundler来安装 BundlerSuccessfully installed bundler-1.13.1
Parsing documentation for bundler-1.13.1
Installing ri documentation for bundler-1.13.1
Done installing documentation for bundler after 8 seconds
1 gem installed
安装 Development-Kit
-
安装 Development-Kit
从这里 下载 DevKit-mingw64-64-4.7.2-20130224-1432-sfx.exe 这个文件,这个是window64版本,适配2.0.0或者更高版本的 ruby 。
下载完以后,解压这个包(虽然后缀名是.exe,实际上是7z),然后将解压后的目录放到一个没有空格的安装目录路径下面,记住一定要没有空格。此处,我直接放在ruby安装目录下面了。
cd
<DEVKIT_INSTALL_DIR>切换到 Development-Kit 的安装目录,执行ruby dk.rb init生成 config.yml 文件。执行
ruby dk.rb install,如果出现 Invalid configuration or no Rubies listed. Please fix ‘config.yml’ and rerun ‘ruby dk.rb install’ 错误,则需要编辑 config.yml 文件,添加如下内容 ` - D:/Ruby23-x64后面为 ruby 的安装目录,注意前面有一个- ` 。修复以后然后再次执行
ruby dk.rb install[INFO] Updating convenience notice gem override for ‘D:/Ruby23-x64’
[INFO] Installing ‘D:/Ruby23-x64/lib/ruby/site_ruby/devkit.rb’提示安装成功
安装 Jekyll
-
为 Jekyll 生成 Gemfile
切换目录到你的博客本地 git 库的根目录执行
ls,
查看是否含有 Gemfile
如果没有 Gemfile 则需要建立一个 Gemfile的文件,内容为:source 'https://rubygems.org' gem 'github-pages', group: :jekyll_plugins如果文件已经存在,则忽略。
-
安装 Jekyll
切换到 git pages 本地仓库的根目录
执行
bundle install安装 Jekyll,出现如下内容表示安装成功Bundle complete! 2 Gemfile dependencies, 56 gems now installed.
Usebundle show [gemname]to see where a bundled gem is installed.
Post-install message from html-pipeline:
---------------------------------------------------
Thank you for installing html-pipeline!
You must bundle Filter gem dependencies.
See html-pipeline README.md for more details.
https://github.com/jch/html-pipeline#dependencies
---------------------------------------------------
Post-install message from github-pages:
---------------------------------------------------
Thank you for installing github-pages!
GitHub Pages recently upgraded to Jekyll 3.0, which
includes some breaking changes. More information:
https://github.com/blog/2100-github-pages-jekyll-3
---------------------------------------------------
启动 Jekyll
-
启动 Jekyll
执行命令
bundle exec jekyll serve
编译启动 Jekyll ,如果出现 “jekyll 3.2.1 | Error: Permission denied - bind(2) for 127.0.0.1:4000” 错误,这个问题可能是4000端口被占用导致。福昕阅读器可能会占用 4000 端口。
netstat -ano找到 4000 端口的服务进程号,比如2034,task /svc /FI “PID eq 2034”找到服务的名称。
关闭此服务,然后重新启动 Jekyll 即可。
当然也可以启动 Jekyll 时候指定端口。bundle exec jekyll serve -P 4001,更多启动参数,可以查看帮助bundle exec jekyll serve --help
本地浏览博客
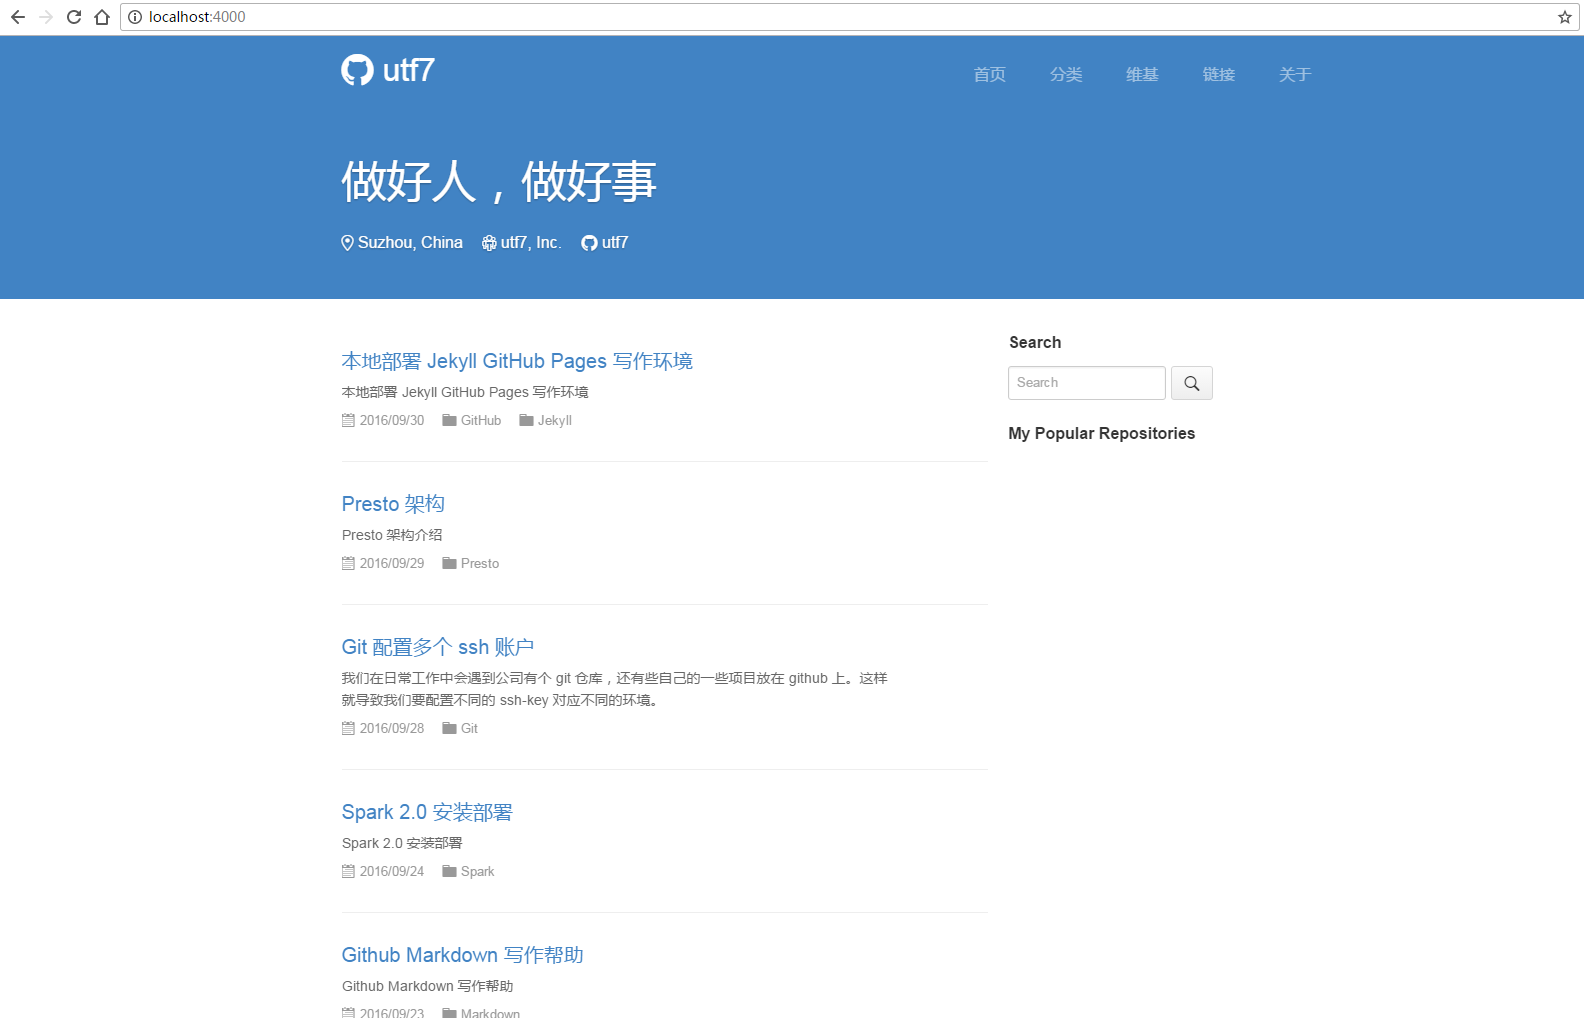
启动好 Jekyll 以后就可以本地浏览博客了。
输入http://localhost:4000

参考:
setting-up-your-github-pages-site-locally-with-jekyll
rubyinstaller
Development-Kit
cant-get-ruby-devkit-configuration-file-autogenerated-properly
who-is-using-my-port